Pages

Thursday 29 January 2015

Just a quicky :)

Hellooo!
Just a shortish post today. I just wanted to say;

  • Thankyou for looking at my blog! I hope it makes you smile :) 
  • The views that I get make me smile and I really want to enter February with close to 200, if not 200 views. It may seem small but to me it's a lot (aaw, I've gone all soppy!)
  • Sorry I haven't been posting for a while guys...
  • I've been quite busy!
  • But more posts are on their way soon,
  • I love you all very much and...
  • I hope you will visit again soon!
Goodbye for now, And-a-Topcoat. xx


Sunday 11 January 2015

5 Cheaper Alternatives

Why hello my little lovlies- yes, you in the pyjama's (to be honest, I'm in pyjamas too and it is 4pm!) and the one munching on their dinner whilst reading this or the one that just has this web page open and isn't bothering to look at this (rude! Not really...I even love you too, although not as much as my dog)- anyway, this post is all about cheaper alternatives for nail polishes. So for your Christmas list next year you can decide whether you want the branded item or the cheaper one to save your family/ friends some dosh! (Little disclaimer: I am not in any way saying that the cheaper polish I am writing about is any better or worse than the more expensive branded polish)

1) Well, these are some summery coloured coral polishes. One is Ted Baker (I got this as part of a £7 gift set which came with a nice coral lipgloss, so the exact price is hard to say) but it comes in a
gorgeous square bottle (I have a 'thing' about square bottles!) and has the rose-gold lettering of Ted Baker on the front. The cheaper alternative for this product is Mayeblline's Colour Show 'urban coral' polish. Almost identical shades, the only things noticeably different is obviously the packaging and the amount of coats needed. For 'urban coral' I'd say that at least 3 coats are needed for the optimum look.

2) The black leather effect polish by Alexa Chung for Nails Inc is a special effect polish which costs (online) £15. Quite a pricy polish but I have to admit that I do have a soft spot for Nails Inc as the first polish I owned was by them. It was such an old polish, it still had the hands around the rim! Anyway I have found and used a cheaper alternative by Next, called the leather effect. It is so good, only needing one thick coat, and it dries pretty quickly!

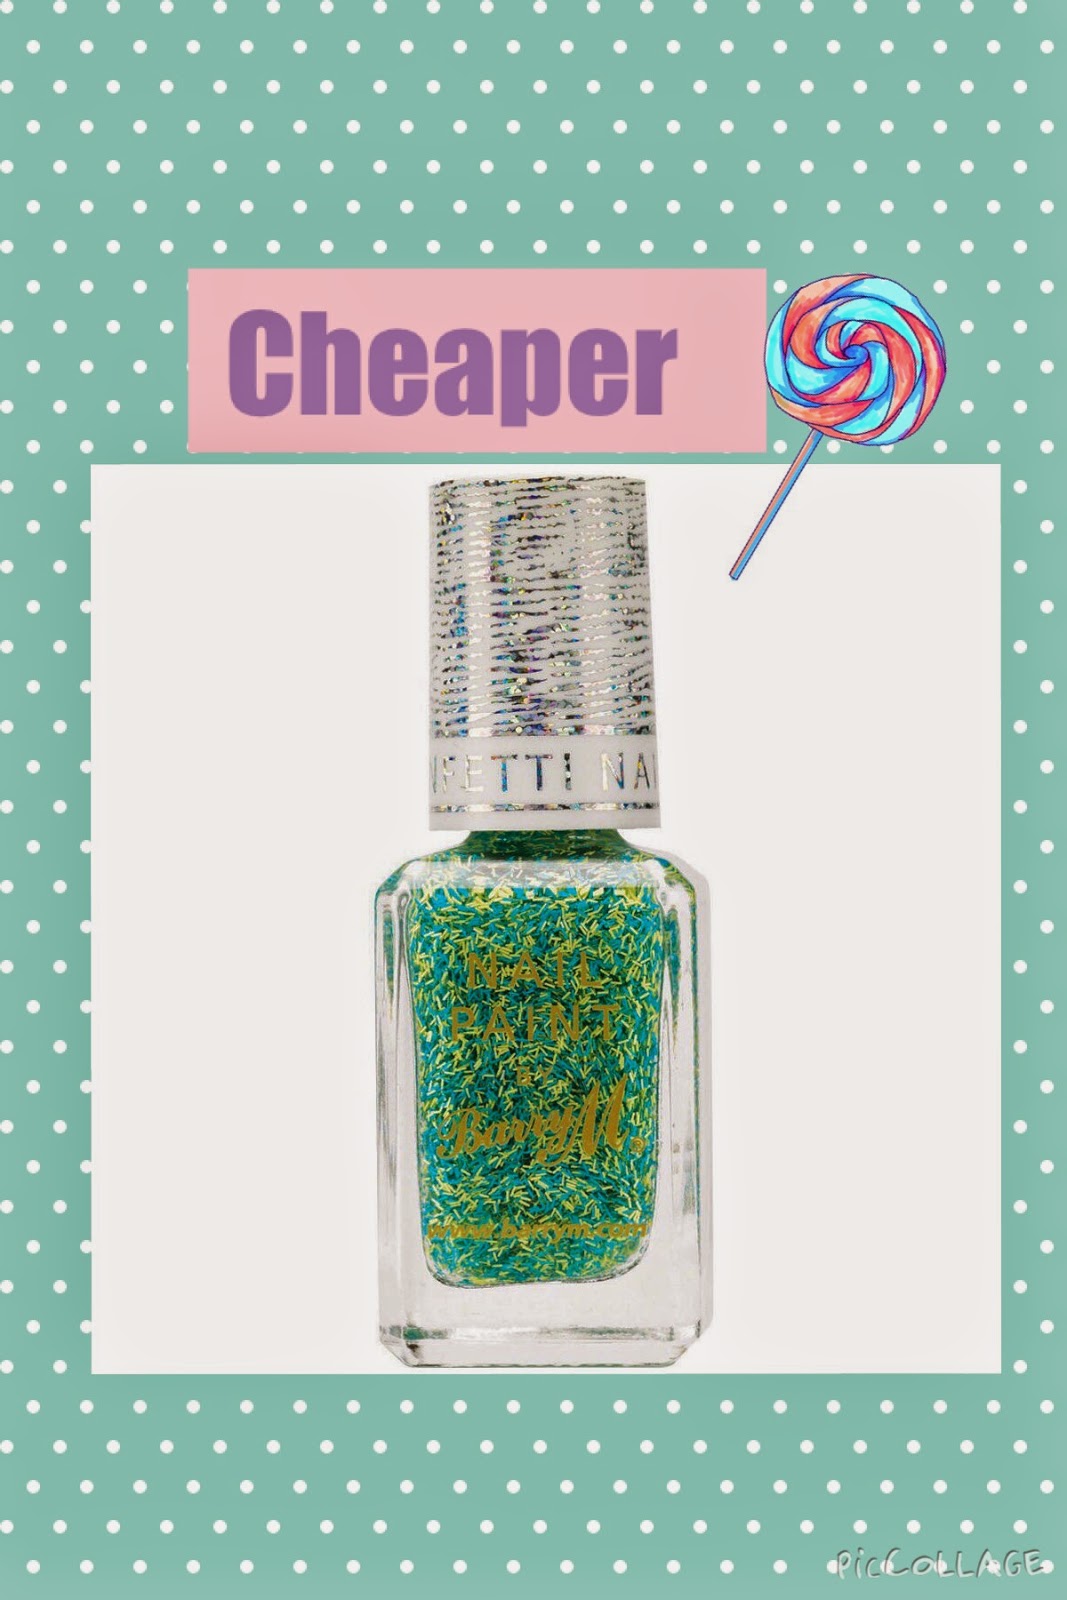
3) Barry M confetti is a special effect polish by Barry M which includes multicoloured glitter strands to give the look of confetti- or as Nails. Inc liked to call it feathers. With Barry M retailing at £3.99 and Nails. Inc feather effect not being sold on their website any more as they have redesigned their bottles and polishes, this is not only cheaper but a way of getting your hands on almost the same polish without having to scour sights like ebay!

4) A special effect polish which first made me excited about painting my nails is the crackle effect polish! A polish which when applied to your nail, over a base colour starts to crack and break up. The first crackle effect polish I used was by Barry M but when that dried up and ran out I found some in Asda. Barry M is £3.99 whereas Asda is £2.98. Slightly watery however when dried I couldn't personally tell the difference.

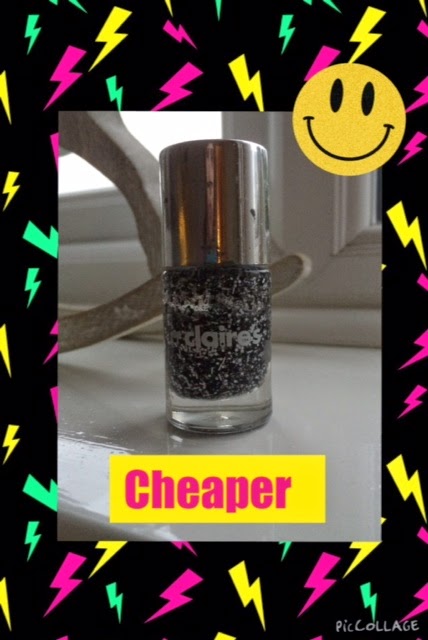
5) Loreal confetti (obviously quite a popular word in nails at the moment!) is a black and white glitter topcoat which is selling in superdrug (and other stores) for £4.99. When in Claire's, looking at the new polishes and admiring the new, bigger bottles, I noticed they had the exact same polish (I think it actually had more polish in, too) for £3.00. Realising it was a bargain and trying it out, I then compared it with swatches of the confetti topcoat and it looks just as good! The only difference being the Claire's version has glitter strands as well as dots in it.

So there you have it, a list of cheaper alternatives so you save your pennies! Hope you found it useful, see you soon. And A Topcoat. xx


Little thing to say...

Hola Amigos! Just a little thing to say, more posts are going to be uploaded soon, don't worry. I have many saved as drafts which only need to have photo's added before I can post them, but obviously I need to take the photos and edit them all which takes a while and then e-mail them and download them and insert them and it's just a bit of a faff!- I think that is how you spell that word, never used it before! Hey, you try something new everyday, don't you? Anyway, before I get too distracted I just wanted to say bare with me and keep looking at my blog, and if there is anything you want me to talk about or post or show you how to do just ask in a comment!

Lots of Love, And A Topcoat. xx


Saturday 10 January 2015

New Year: New Look!

Well hello there passing reader- may I interest you in this post? As you may have noticed I have changed the look of my blog quite a bit, with some changes being:
  • Lilac background for my title
  • New theme font of 'Josefin Sans' 
  • Spotty grey background
  • A new caption of 'Nails and a Natter' to reflect my blog
I did this because my previous background was a pre-made one that I couldn't change whereas my current one gave you the opportunity to change the theme colours of it. In addition I didn't like the blue in my last style because it sometimes clashed with my images, however grey (apart from being my favourite colour!) is quite neutral and truly goes with anything. 
Anyway I thought I'd just do a quick post about it as I just... I don't know... I guess I just really like it! Hope you do too, lots of love, And a Topcoat. x

Super Stamping!

Hello my lovelies,
Well after I wrote my what I got for Christmas post I recieved another Christmas present from a member of my family which was bought at the UK's version of Comicon. It was a massive nail art plate full of nail tips, nail covers and small floral, animal print, party, spotty, stripy and seasonal patterns for your nails. I know, why was that at Comicon? Anyway, I don't mind because it inspired me to do this post about how to correctly use nail plates. First, in advance let me say sorry for my dodgy photography which included a lot of don't's from my previous post! I did this tutorial late at night and had to use a lamp to have the right lighting and then that caused shadows and so on and so forth... Anyway-let's do this!

Oooh, in case any of you don't know a nail plate is a metal disc (or square) which has a few (or many) nail designs engraved into it . You then use the special tools and polish to imprint that on your nail. Ok, step 1!


                  1) CHOOSE YOUR DESIGN          2) COVER SPECIFIC DESIGN                                                                                                        IN THE SPECIAL POLISH          
                                   
          3) SCRAPE AWAY THE              4) USE THE DOBBER (?) TO STAMP 
              EXCESS POLISH                   THE  NAIL DESIGN OFF YOUR PLATE 
                                                          AND ONTO YOUR FINGER.


Thankyou for reading dear chums, hope this helped you if you own a kit like this or intrigued you into buying one. If the latter is you, then my kit was by MoYou nails and they do have a website, other kits out there are Konad which have a website also, however it can be a little more expensive.

And A Topcoat. x

How To Snap Your Mani's and Polishes

Hello my friends and welcome to this simple post about the do's and don't's of taking photos of your nails and your polishes! I have took and edited a few photos and added an explanation as to mistakes people make and how to correct them! Enjoy

1) BACKGROUND

Try to take your photos (whether of your nails or polishes) with a simple background as opposed to a busy or a messy one, I chose my white bedsheet and made sure that it wasn't creased as this can look untidy and cause shadows. You could also use an open, unlined notebook, like I did when I was snapping my polish. 


2) LIGHTING

Try and take your photos early in the day to ensure good lighting- artificial lghting like lamps or torches are useful but cause shadows and emit a glow- usually white or golden- which makes it look like you have took the photo late at night.


3) FRONT

When taking a photo of a certain polish make sure that you can see the front of the bottle as this is where the brand and sometimes the name is and therefore gives the audience something to look at and makes it appear more professional.


4) FOCUS

Sometimes you aim for a photo which has a part out of focus so the audience can appreciate the sharpness of the part which is in focus, however with one bottle of nail polish make sure that it is in focus. You can do this by not having your camera or phone too close to the object and if you are on a touchscreen phone, tapping the object which tells the phone to focus on that. 


5) IS YOUR HAND CLEAN?

One of the mistakes I often make when taking a photo of my nails is having biro and coloured pen and highlighter on the sides of my fingers from when I've been writing or colouring or highlighting! To avoid this just wash your hands previous to the photo. An extra tip, to make sure your cuticles are looking healthy use some sort of cuticle cream- I recommend Burt's Bees.

______________________________________

Thanks for reading, I hoped it helped some of you to perfect your photography, the two polishes featured in this post were technic's 'Turkish sea' with Sally Hansen's 'Over the Rainblue'. This is what the full swatch looks like:

Lots of Love, And a Topcoat. x


Merry Christmas and a Happy New Year

Well ho ho hello to everyone. Before the first proper week of the new year finishes here in the UK I just wanted to say I hope everyone had a very merry Christmas and are having a fantastic new year. This post is just about me sharing the polishes that I received this Christmas... I miss it already! Ok, here goes:

1) I actually got this polish a few weeks before Christmas from Selfridges as it was a wintry colour and therefore was best for November and December. It is by essie and is called 'Bahama mama'. I must admit two words I haven't heard together but it works... I love this polish and it only requires 2 coats at maximum for full impact, which is great for impatient bods like myself!

2) I still don't know how to pronounce the brand if this polish even though I love it so much! Is it see-a-tee or see-ate or sy-at? Anyway, this polish is called 'it's haute in here' (great play on word if I do say so myself!) and is by ciate. I love this polish and I'm glad I got it as it goes with the essie one... It has pink, white and black glitter specks in ranging from minute dots to big shiny flecks and comes in a wide curved bottle which has it's very own bow on it- cute!

3) The third polish is by Rimmel London and is a mushroom brown colour, slightly darker than Nails. inc's infamous Porchester square. I often wear this for smart/ professional events as it is quite calm and sophisticated. It's called 'chic and cheerful' and claims to last ten days, it's the second day on for me and I must say I only have a tiny chip!

4) This polish is by a brand I hadn't heard of before, is unnamed and comes in a simple bottle but it's special to me because my friend got me this for Christmas, it's a golden glitter topcoat and it looks like (well I think it looks like, anyway) tiny little gold coins on your nails. It requires about 3 coats as the glitter comes of in quite small amounts but it'd be great for a party or a disco!

5) Number 5, a coral shade by Ted Baker. I love the bottle for this as it's square and has a rose gold lid with gold swirly lettering on the front. At first I thought the name was FLAMMABLE but I then realised that it doesn't have a name and that was just a warning... Oops! It's quite a summery polish so  I'll probably wear it for me holidays!


6) Last but not least a Sally Hansen topcoat and wow- it's a beauty! This polish would be perfect for a big party or for someone that likes frozen as it is that kind of colour scheme. It has long turquoise, dark blue and silver glitter strands as well as blue glitter dots and the name is one of my favourite ever... *drumroll please*... 'Over the rainblue'! *bows* *says "why thankyou" to her screen*.

So that's it. Hope you are having a great week and I can't wait to write to you again soon. Lots of love, And A Topcoat. xx

Monday 5 January 2015

New Polish!


Firstly, the name of this polish is just so cute and girly so let's just take a minute to awe at the name:
Sweetie Crush.Then it gets better.... this particular polish is called violet swizzle. Whoever came up with these names is an absolute genius!

Looking at the actual polish though, I really love the shade of lilac, how it has tones of pink and the shine makes it have a silver tint all over! I have also never seen the texture of this polish elsewhere, I think that's why its called sweetie crush. It looks like sugar due to the small grains in it. Now we can achieve a 3D look in a few minutes. Why are all my sentences now so short?

Let's lengthen the sentences! Great. Ran out of things to say. Still got short sentences.

Well, I know this was a really short post but I just love cute polishes with great names... Is that weird? Oh well... I'm already weird- no difference there!

By the way, the picture included isn't my own... if you recognise it as yours please contact me in the comment box below, thankyou xx